RIDGID RP 340 Operator's Manual Page 11
- Page / 15
- Table of contents
- TROUBLESHOOTING
- BOOKMARKS
- Pressing Tool 1
- Table of Contents 2
- Press Tool 3
- General Power Tool Safety 4
- Warnings 4
- Safety Symbols 4
- Personal Safety 5
- Power Tool Use and Care 5
- RP 340 Press Tool 5
- Battery Tool Use and Care 5
- Specific Safety Information 6
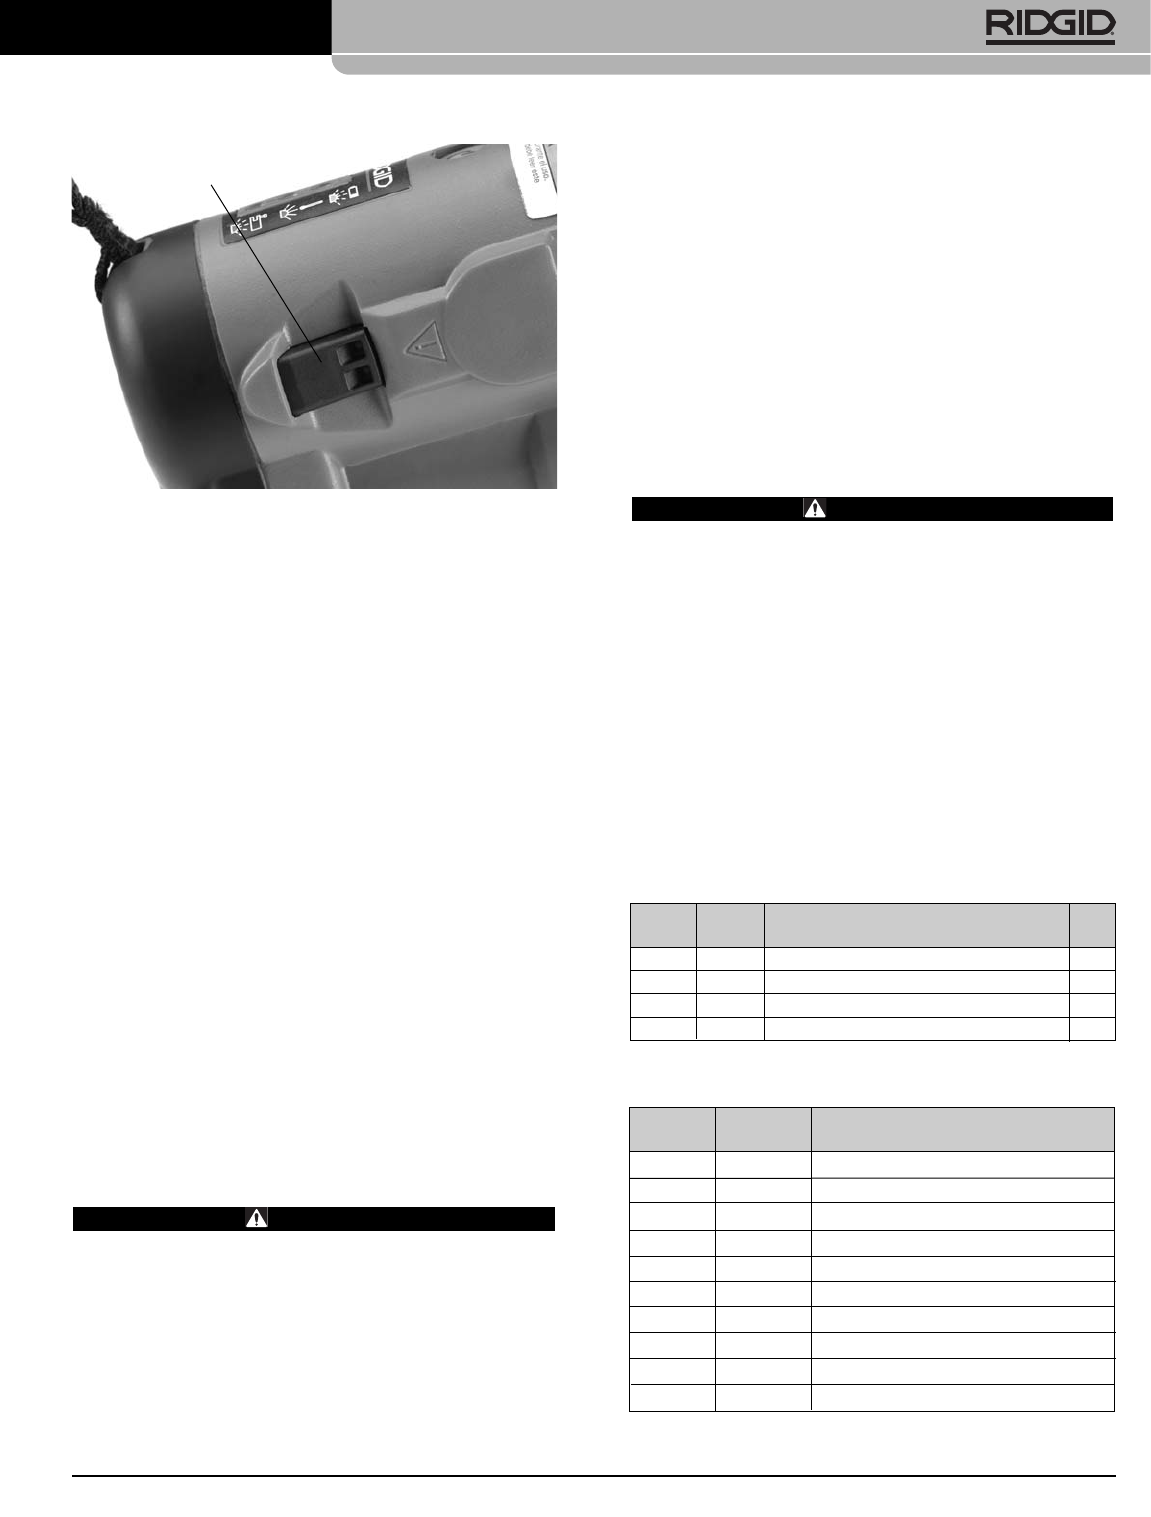
- Figure 3 7
- Figure 2 7
- Diagnostic Codes 8
- See Figure 4 8
- Figure 5 8
- (Figure 6) 9
- Fitting Manu facturer's 9
- Installation Instructions 9
- (Figure 7) 10
- (Figure 8) 10
- (Figure 9) 10
- (Figure 10) 10
- Pressure Release 11
- Disposal 12
- Service and Repair 12
- Troubleshooting 13
- RP 340 Diagnostic Codes 14
Related products and manuals for Power tools RIDGID RP 340
 (7 pages)
(32 pages)
(7 pages)
(32 pages)

 (84 pages)
(40 pages)
(84 pages)
(40 pages)
(22 pages)
(16 pages)
(16 pages)
(18 pages)
(20 pages)
(24 pages)
(16 pages)
(55 pages)
(10 pages)
(26 pages)
(18 pages)
(84 pages)
(40 pages)
(84 pages)
(40 pages)
(22 pages)
(16 pages)
(16 pages)
(18 pages)
(20 pages)
(24 pages)
(16 pages)
(55 pages)
(10 pages)
(26 pages)
(18 pages)
© 2020, manymanuals.com. All rights reserved. | 0.059 s |
 Manymanuals.com
 Manymanuals.de
 Manymanuals.fr
 Manymanuals.it
 Manymanuals.pl
 Manymanuals.cz
 Manymanuals.es
 Manymanuals-pt.com
Comments to this Manuals